Swiroset.com

Powering future

Category Archive : Home Kitchen

What is polished rendering?

The Polished Render is basically Polished concrete for walls. The application process is a mix of old and new plastering techniques, along with new polishing systems.

We start with a basic render blend and into this we add a base color. We then add different aggregates and apply them to the walls at a minimum of 8mm. 2 mm are crushed with special machinery to expose the aggregate. We then mechanically polish leaving a smooth, flat, mirror-like surface, almost like polished granite. It is then sealed with a concrete sealer that is waterproof and breathable.

Iron Oxide Concrete Pigment is the number one choice for coloring concrete and is available from any good builders supply. The range of colors is good, from yellows, reds, browns, greens and even blues. There is a wide range of aggregates that can be added in different grain sizes. There are stone aggregates such as black or green basalt, red or gray granite, multicolored flint, and white dolomite to name a few. Glass aggregate is available in many colors such as blues, reds, purples, and greens. There is also a mirrored glass insert available to really give it the WOW factor.

Polished concrete is very versatile and there are many variations with different colors and aggregates. Divider strips can be added to separate colors and create patterns or logos. Logos can also be added using stencils and stains. Grinding and polishing concrete can be very complicated, but we have a great dust extraction system that keeps the mess to a minimum.

How strong is granite?

There are many different and often overlooked aspects to consider when purchasing stone to install in your home, whether it be your kitchen, bathroom, living room, or patio. People can get careless when it comes to topics like scratch resistance, stain resistance, resistance to water damage, and density (the stone’s ability to resist nicks, chips, and cracks).

All of these things sometimes fade into the background as people become wooed by colour, design and luxury brands. People can still receive quality granite fixtures without the hassle of wear and tear. The density is palpable.

The only material more dense than granite is diamond, and you simply won’t find a diamond countertop on the market, and trust me, I’ve looked for it. In addition to being the toughest surface that contractors regularly install in people’s homes, the variety of colors and finishes doesn’t bother homeowners to simply install a much-repeated look in their home. To combine resistance to scratches, resistance to heat and cold, with appearance and resistance to weight, create a home accessory that lasts until you decide to uninstall it (but why… it lasts a lifetime). ?).

The density of granite is certainly not something people often think about when choosing what type of material to remodel with. In an ideal world, the choice you make should remain virtually unscathed for the duration of your life in your home—well, that’s the hope anyway.

There are countless popular types of countertops that just don’t provide much resistance against constant wear and tear. Linoleum, wood, and even steel can be easily scratched, stained, and dented. These seemingly meaningless bumps and bruises can turn into ugly pockmarks that last much longer than you’d like (ie forever).

If you’re looking for a granite countertop, be sure to remember its density and strength… oh, and of course, its beauty.

Kitchen remodeling: cost reduction

One way to cut costs on kitchen remodeling is to make a budget and stick to it, but that’s not always easy. You may have budgeted too low on some things or you may have seen something you like better for your kitchen but it was over your budget. Budgeting and planning are the two logical ways to reduce the cost of your kitchen remodel. If you’re hiring a home remodeling contractor, get at least two or three estimates and ask them to give you a breakdown of the costs so they can see how your money will be spent. Some of the items that can add to the cost of the project are countertops, flooring, and cabinets. If you’re shopping for these items instead of the contractor, shop around for the best deals, which means you may have to go to multiple home improvement stores. You can also substitute lower-priced items to help lower your costs, but don’t settle for something you don’t like or wouldn’t look good in your newly remodeled kitchen just to save money.

determine budget

Sit down, calculate all your monthly expenses and see how much money you have left. Estimate a portion for your kitchen remodeling project. You can save this amount of money each month for several months until you have the amount you want to spend on your project. Once the amount is established, stick with it. Sketch how you want your kitchen to look after the remodel and take notes on what kinds of products you’ll need. If you want expensive stainless steel appliances, you may need to spend less on flooring, countertops, and cabinets.

If you don’t want to have a fixed budget, making it difficult to add if you don’t have additional funds to add to the budget. Instead, you should determine a budget range, which is many times more appropriate for a kitchen remodel. The reason this works best is that most projects are based on estimates and actual costs may vary.

most expensive items

The next step after calculating the budget is to determine what type of products you want to have in your finished kitchen remodeling project. The majority of remodeling costs are typically taken up by countertops, cabinets, and flooring. Look for lower cost options that won’t compromise the desired look of the kitchen. If you are using a home remodeling contractor, be sure to ask how much they charge to install these products.

Remember, come up with a plan of what you want your dream kitchen remodel to look like and budget around it.

Removable Wallpaper for Apartments: 5 Ways to Make the Most of Small Spaces

If you’re ever at a dinner party and the conversation drags on, simply switch the subject to small apartments and you’ll probably be prompted for some interesting stories starring the legendary studio. The studio has long held its place between the bedroom and more permanent (albeit rented) residences, and with good reason: a stylishly decorated studio has all the appeal of a cozy cabin in the woods or a chic city loft, just without the high monthly payments. and easily overlooked cobwebs.

Sharing a bedroom may be the gateway, but renting a studio apartment is the best way to hone your smart design skills. Once you’ve signed the lease on your cozy little hideaway, start your decorating engine with these five ways to make the most of small spaces with removable wallpaper for apartments:

1. Turn that small bathroom into a sanctuary of style. Good news: the smaller your bathroom, the less removable wallpaper you’ll need to transform it into the happiest toilet you’ve ever brushed your teeth in. Cover all the walls with removable wallpaper and complete the look with towels, rugs and trinkets. For an even better bathroom, replace the fluorescent light bulbs with buttery ones that bounce colors to give your skin that fresh-from-an-Oscar look.

2. Shine a serious spotlight on your living room bookcase. It’s easy to turn a bookcase into visible storage space, but it’s just as easy to use all those colorful dust jackets and covers. Use removable wallpaper to cover the back or bottom of the shelves and play around organizing and displaying your collection of books, photos and curiosities. Use plastic or makeshift stands to display the covers that look great against your stylish wallpaper background.

3. Redesign your bed, starting at the top. Whether you’re the proud owner of a headboard bed frame or working with a minimal mattress on the floor, adding a removable wallpaper headboard can do wonders for sprucing up the wall on top of your bunk. To create your toothpick headboard, measure the width of the top of your mattress and decide how much wallpaper you’ll need to make a full headboard or emphasize the space behind an existing one. Use scissors to shape your wallpaper and place it where it works best to accent your bedding.

4. Reward your living room with stripes. To design a look-worthy focal wall, cover the largest or most frequent wall in your apartment’s common area with striped removable wallpaper. If you like the existing paint color and can find a wallpaper pattern to complement it, carefully trim each sheet of wallpaper into even strips and apply them in evenly spaced bands along the wall.

5. Break up that blank space between kitchen cabinets and counters. Choose a patterned removable wallpaper, and use a tape measure and scissors to cut the gaps so electrical outlets will show. Make decorative use of the white space behind your toaster and you’ll instantly recreate a room perfect for entertaining hungry guests.

One of the best things about removable wallpaper is its portability. Once it’s time to move in, peel it off the wall to reveal the owner’s original paint job. Before you choose your wallpaper, make sure it won’t damage the wall surfaces below it; You don’t want to spend extra time and money on putty and touch-up paint. If you’ve chosen a reusable brand of removable wallpaper, simply save the original backing and reattach it to transport to your next decorating project.

Refinishing kitchen cabinets can bring life to your kitchen

Refinishing kitchen cabinets is a relatively tedious, tedious and complicated task than you would expect. However, in fact, we know that at some point we need to renew our kitchen cabinets. This may be because we want our kitchen cabinets to look better or they simply need a finish or facelift compared to other cabinets or shelves in the home.

Practically, as we can see, heat, water, grease and food debris can take their toll on your kitchen furniture. Obviously, you cannot commit to the cleanliness and hygiene of your kitchen at all costs. After all, what we eat is what we feel.

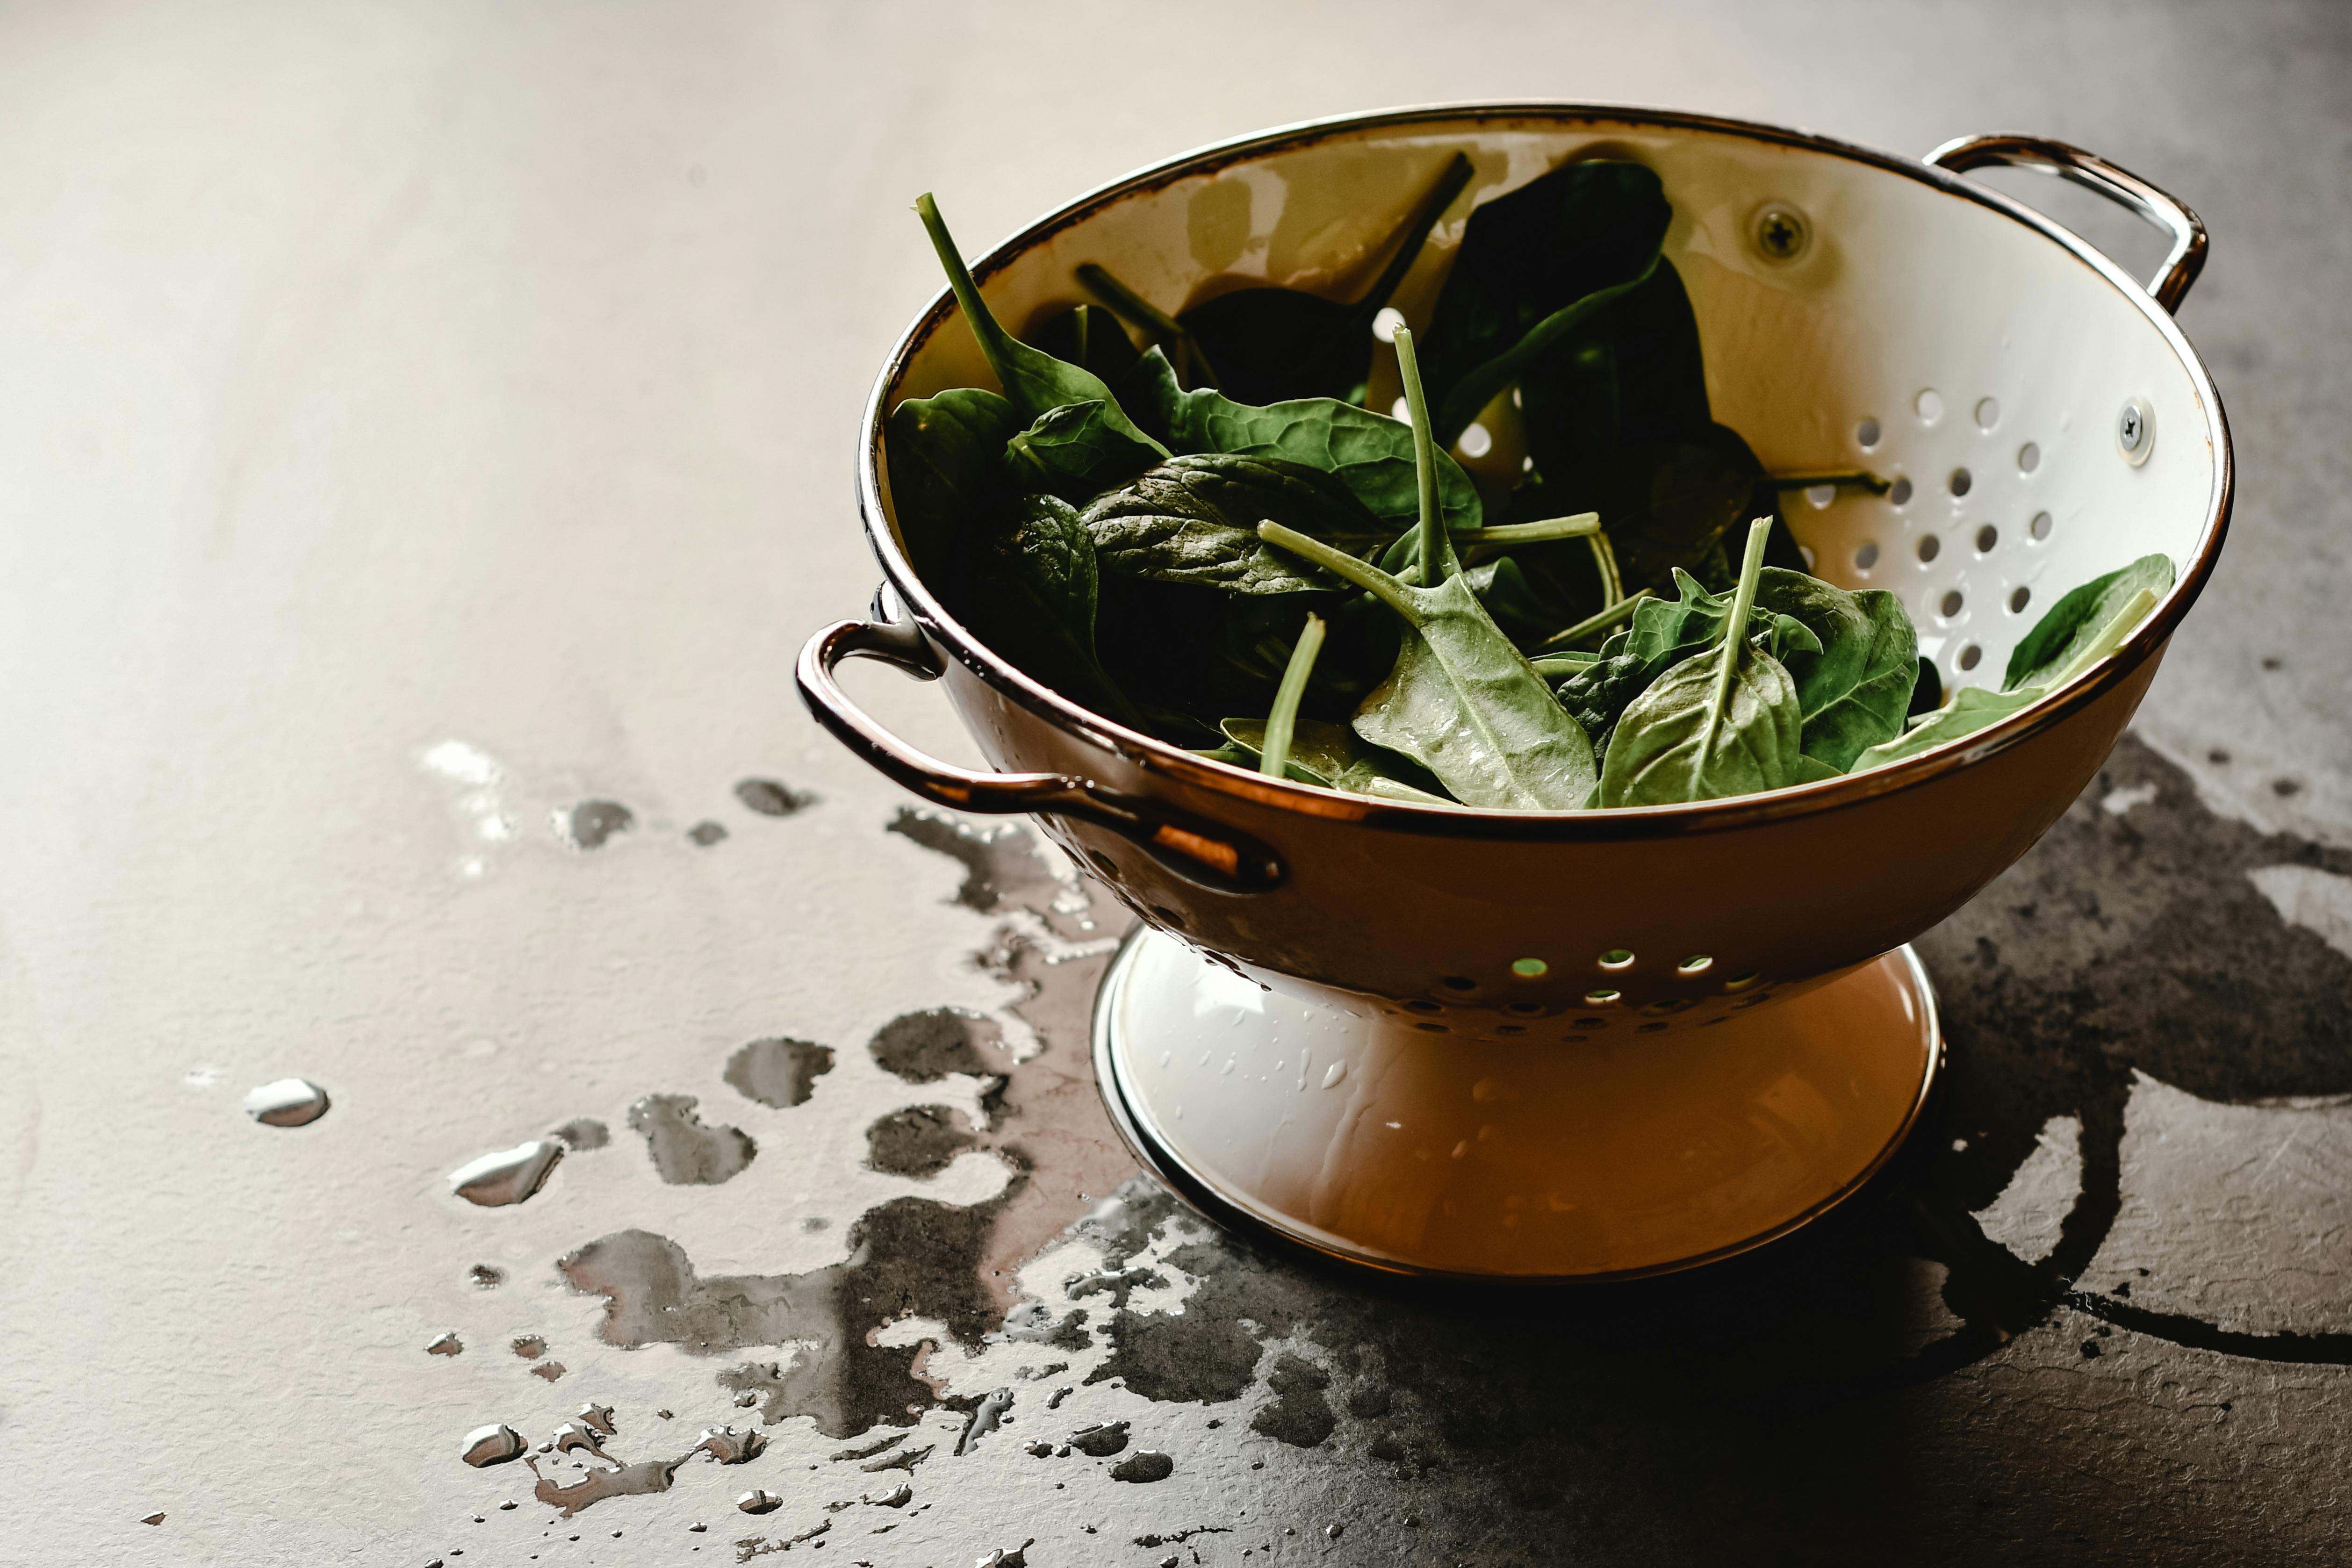
Apart from normal washing and cleaning, we need to scrub away the residue of dust, smoke, oil and other food particles. Scrubbing can work wonders when it comes to revamping kitchen cabinets. However, you need to be prepared both mentally and physically before you start refinishing kitchen cabinets. Here are some helpful tips when you’re ready to clean your cabinets, to clean your cabinets effectively.

Doors can usually be removed from the bracket or frame. So if you choose to remove the doors, be sure to label or number them so they go back into place. The holes for the hinges (door and frame) should also match up, so you can easily tell which door goes where. Lay down plenty of drop cloths, plastic sheeting, or just newspaper to protect countertops, appliances, and floors.

Also, remember while refinishing kitchen cabinets, as you are not a professional in this game, you have to take proper care to protect your hands, eyes and other body parts from grease, oil and even paint or paint. polished. To do this, you must wear gloves and eye protection when using a strong cleaner or detergent. While cleaning, you should clean thoroughly. You should also follow the cleaner’s instructions or guidelines.

Therefore, while refinishing kitchen cabinets, keep a clean surface of the cloth in contact with the cabinet for best results. Rinse cabinets. If the rinse water looks dirty, repeat the cleaning process. Since most of these cabinets are made of wood, the chances of damage are higher compared to sheet metal or plastic. So while cleaning, you need to allow the wood to dry properly.

However, refinishing kitchen cabinets is not a rocket science, but we must be careful and well-planned. First of all, we must understand the difference between kitchen cabinets and any other cabinet, cupboard or shelf in the home. Simply saying mainly just a matter of degree, inclined of the mind; however, when you dig deeper it is much more than that.

Sure, our kitchens are one big project, so refinishing kitchen cabinets will require more of everything than a single project or cabinet. That includes a lot of time, energy, and patience. We use them more often than other cabinets as for most of us eating is a regular practice (not just an option) so we need to cook food regularly.

In addition, we must keep them safe, clean and hygienic. They are often exposed to strong steam, grease and water, so we must clean and scrub them regularly. Even if we keep them clean and uncluttered every time, the chances of dirt and damage are higher here in these cabinets.

Kitchen cabinet refinishing begins with a higher degree of soiling that must be removed before any other step. Extreme care must be taken to make them safe and scratch less, otherwise food particles would eventually accumulate there and result in a bad smell.

Lastly, you should keep in mind that in kitchen cabinets, the interior surfaces are used more and this is only the interior part that is visible than most other cabinets in the home. Therefore, it may need some TLC for best results and less damage.

Mistakes to avoid when buying a kitchen countertop

Choosing a countertop for your kitchen seems like child’s play, but it’s actually a tough nut to crack. Whenever we decide to give our beloved kitchen a makeover, the first thing we do is visit a local furniture store to see if they have anything to reassure us or not. In some cases, we are not satisfied with the quality or design of the countertops and materials. After that, we visit various sites to see which countertop suits our personality and taste.

Because mistakes are bound to happen, it doesn’t mean they happen again and again! People often rush or do not consider when buying countertops and worktops for their kitchen. Soon the material wears out and stops giving what you expected it to give for years. There is a whole list of mistakes to avoid when buying a kitchen countertop:

  • Crossing the budget line

Well, whenever we plan something to buy, it starts with deciding the budget. Figure out how much you’re willing to spend on countertops, and then make sure you select one that fits your budget. But, if you haven’t decided on the budget yet, then consult an interior designer, professional kitchen designer or countertop expert for suggestions that fit your budget.

Basically, there are three price levels involved in countertops such as High, Medium, and Low. If you want to go for materials like granite and quartz, you will go through the roof, but if you go for laminate, the price will be low.

  • Select wrong material

It’s pretty obvious, but it happens more than you might think! While you’re standing at the cash counter after choosing a material or waiting to hit the buy online button, you need to be sure of it. Altering your decisions about reviews from magazines, design programs, and videos and not listening to your inner voice can be a big mistake, as it can make the process even more daunting. Always keep a balance between function and fashion.

  • choose the wrong color

It is recommended to choose the color of the countertop very carefully. Don’t go after colors that are too busy playing racket with the floor color. Often times, it can result in a busy looking space. Many of us have been through some design disasters: mixing two colors that don’t match at all and fighting to be seen. Avoid using countertops of two colors as it can sometimes leave an opposite impact. It might look like you fell for a cheap deal on a mismatched countertop piece.

  • Stone countertops are unbeatable

It’s hard to break the ice, but stone countertops are “THE” best on the market and have been for years. Of the entire list, marble kitchen countertops are the ones that last for years and provide you with great stability and sturdiness throughout their journey. They come in various price tags so that they can fit into your budgets.

Never make hasty decisions, when in doubt, feel free to ask questions to consultants and experts. With the mistakes mentioned above, you can learn a lot and understand how important it is to look before buying countertops for your kitchen.

Organize your pool cabana for storage and enjoyment

Your pool cabana provides convenient and probably necessary extra storage space for your pool. Of course, you keep all the accessories that come with your pool. Towels, pool toys and lounge cushions. Tools and chemicals for pool maintenance. Maybe your pool heater and other mechanical systems are hidden in there, too. You and your guests will probably change in there, and you can store snacks and drinks for the pool. But there is much more that your cabin can be used for if you organize and design it correctly. It can be so much more than a storage shed. Done right, the pool cabana can also be a stylish, entertaining, and recreational space.

With a full sink and pantry, refrigerator and freezer, you can entertain in your cabin. Plug in some outlets if you don’t already have them, and mix up ice-cold drinks poolside. Install a bathroom and you won’t have wet footprints running through your house, or worse, risk slipping. It just takes organization and a little ingenuity, because most cabins aren’t that big in square footage.

divide and conquer

If your cabin is just one big open space, divide it with walls to establish rooms with specific functions. You don’t want to feel like you’re relaxing in a storage compartment. If a fully grown wall looks permanent, hang a drape or two to get an idea of ​​how you’ll best use your space when you’re “live.” You may find that you want more entertainment space and less storage or vice versa. Give it a season or two and then make your remodeling decisions for the long haul.

think up

Remove as many stored items from the floor as possible. Wall shelving, and even ceiling beam-like shelving if you have headroom, are great for organizing those pool floats, lounge chair cushions, and pole nets. Cabinets with drawers are just as important in the cottage as the kitchen. And don’t limit your storage capacity to the designated storage area if it makes sense. The living room and relaxation area shouldn’t be cluttered with storage, but a little might make sense and even give the ambience of truly poolside living indoors.

organize smartly

You don’t want to break your back lifting heavy objects, especially if you use them all the time. Organize the things you need to store by weight and how often you plan to use them. Something you use frequently should be more accessible than others. And remember that the drawers do not have to be for towels or utensils. Larger drawers can be great for larger items and get them out of the way.

waste not want not

This is where you really need to think outside of the box. When you’re saving your space, you can’t let any space go to waste. Install a bar above the pool heater to dry towels. Install drawers in cabinets that maximize capacity.

Be ruthless with what you store. Things you don’t use regularly—or ever—shouldn’t take up valuable space for things you use every day, all season long. When the season starts (or at least once a year if you have a year-round season), take inventory of everything by pulling it off shelves and out of drawers. If you haven’t used it in a year, throw it away. If you just can’t part with it, do you really need to take up space in your cabin? Your cabin is not, or at least should not be, an attic or a basement. Store what you use for the pool in the pool cabana. Store your Christmas decorations elsewhere.

Of course, there is always the option of building a second cabin or expanding the existing one. Make your cabin a refuge, where you can entertain yourself, watch TV and even sleep. You and your pool guests won’t be sorry.

Tips for Choosing an Expert Kitchen Remodeling Contractor

Kitchen remodeling will instantly increase the entire appeal of your home. However, it is not an easy task to accomplish because you need some advance planning before starting the remodeling process. A smart way to bring back the beauty of your kitchen area is to hire an experienced remodeling contractor. Before hiring remodeling contractors, always remember that the beauty of your entire home depends on the quality of the contractor’s work. So, consult the contractor not once, but twice when it comes to remodeling.

Listed below are some important tips that can help you choose an expert remodeling contractor:

Years of experience:

The first and most important thing to consider when choosing a kitchen remodeling contractor is years of experience. Always remember that only an efficient contractor will be able to retain his influence in the field of remodeling. Years of experience will tell more about a remodeling contractor’s performance, strategies, reliability, flexibility and innovation.

Strategies implemented by the contractor:

The strategies followed by the contractor will help you estimate the capacity and availability of the contractor. Most experienced contractors will always collect the owner’s suggestions, expectations, and budget for kitchen remodeling, and then draw up a layout plan according to the owner’s expectations. If the owner approves, then the remodeling process will begin. This basic strategy brings a better understanding between the contractor and the owner. Ultimately, after completing the remodeling task, both the contractor and the homeowner will be satisfied. Kansas City consists of many renowned remodeling contractors who implement the latest technologies and strategies to get kitchen remodeling done efficiently and within the homeowner’s budget.

Reference:

Referrals from friends and neighbors to remodeling contractors would make your search easier because you may be able to get most of the essential details about the contractor from them. References will provide details such as contractor reliability, strategies, cost, availability, engagement, efficiency, and success rate.

Certification:

It is one of the important criteria to be met by the contractor because the certification determines the standard quality of the contractor. Additionally, certified professional remodelers will implement new innovations and techniques that will make your kitchen remodel unique and elegant. If the kitchen is not remodeled to standard measurements, the remodel would not last long and you would have to regularly spend money to restore it.

Warranty:

A contractor who offers a warranty portrays that their remodeling service is trustworthy. A warranty may vary depending on the contractor’s terms and conditions. Remodeling contractors located in Overland Park provide several years of warranty which is very helpful for homeowners.

Fee:

Rates depend on the remodeling process. The complex remodeling process will require more fees. Don’t worry about the fees because a perfect kitchen or bathroom remodel will last longer and would save your kitchen or bathroom maintenance cost for many years.

All of these tips will help you get an expert kitchen remodeling contractor for your home sweet home.

Tips for painting and decorating your restaurant kitchen

Designing your restaurant kitchen is vital because this is where production begins and ends. In fact, painting and decorating restaurants should start where you cook: in the kitchen. Kitchen design includes a bunch of other decorating stages, including choosing the paint color, deciding on the layout, and selecting the kitchen appliances. Effective kitchen design results in more efficient kitchen staff, which translates into higher productivity and better quality.

Consider an overall design or theme. Kitchen design usually follows a basic pattern, which then becomes extraordinary with details and style. Communicate specific requirements with your painting contractors so that the result is exactly what you want and need for your restaurant. Work out the details from a basic layout – the very foundation of how you decorate your restaurant kitchen. The basic layout also dominates the other aspects or areas of your establishment, including the dining room, counter section, and restrooms.

When it comes to a general design or theme, you actually have a long list of options. One of the common choice themes is white, which makes the restaurant look neat and spacious. If you want to evoke a classic country appeal, opt for browns and greens, or pair white with blue. Professional decorators can offer you suggestions on the best way to decorate your kitchen. If you want a really impressive kitchen, bet on the showy shades of red, yellow, orange or pink. For themes, you might want a Tuscan kitchen, a traditional Irish diner, or a retro theme.

Painting and decorating the kitchen should be done with safety in mind. Some paints are damaged quickly when exposed to fire, heat, oil, and water, which are common elements in the cooking area. Not all surfaces are best coated with paint; some are best covered with granite tile or marble tile, which is easier to clean and resists damage from food spills. Some sections of the walls need a backsplash that will keep the walls dry and attractive, regardless of the activities in the kitchen. However, color-synchronize your tiles, decorations, furniture, equipment, and paint for a unified look.

Kitchen safety is improved by proper lighting and proper design. Space and lighting are maximized or enhanced with your choice of paint color. Dark colors can make your kitchen small and cramped, while bright colors make it airy and airy. Also, color helps create an ambiance for your restaurant that encourages an appetite. Red, orange and yellow have been found to make an area cheerful and pleasant for cooking and dining. Painting and decorating your restaurant kitchen should be well thought out to make the area as efficient and attractive as you want it to be.

5 mistakes that make your oven difficult to clean

Cleaning the oven sure is a pain. There’s grease everywhere, splatters, and generally unsightly stains on the interior that make you frown just thinking about it. It’s no wonder so many people hate homework. It’s okay to feel like putting off cleaning your oven, but it’s not okay to make it harder than necessary by making certain mistakes. In the following article, you’ll find out what common mistakes people make that contribute to more difficulty cleaning the oven.

You never wear an eyeliner, have you ever heard the saying that prevention is better than cure? It is applied in full force to the task of cleaning the oven. By preventing the oven from becoming a mess in the first place, you’re essentially saving yourself a ton of effort. An easy way to do this is to start using an eyeliner. This is a non-stick sheet, which you can place on the oven floor when you are cooking something. That way, you’ll never have to clean your oven floor again, as the foil will catch drips and spills.

Never use cooking bags; One more thing you should not forget to do in regards to mess prevention is to use cooking bags. Whether you are making fish, vegetables or roasting in the oven, you can put the food in a bag. In this way, grease will not spill all over the interior of the oven and cleaning the appliance will be much easier.
You leave a mess for too long: This is a big mistake, because the longer you leave burnt-on remnants in the oven, the harder it is to remove. What you need to do is get in the habit of cleaning quickly after the oven has had time to cool down.

So you hardly ever need to spend a lot of time cleaning accumulated dirt.
You don’t clean the shelves: The walls and floor of the oven aren’t the only areas you need to clean. Shelves tend to accumulate stains and become quite unsightly over time, and it’s a mistake to ignore them. What you can do is put them in the sink or bathtub to soak. Use a cleaning solution of your choice to give them a good scrub once the dirt has softened. It’s an easy way to ensure that this part of the oven is clean and shiny.

You do not clean the glass door: when you open the oven door, you sometimes forget to clean it. That is until you have to check how your dish is doing the next time you cook, and you’ll only see blobs and blobs. One of the best ways to clean oven glass is to gently scrape off any burnt-on residue. You can then use baking soda and water to deal with any remaining spoilers.

As you can see, there are many mistakes you can make when it comes to cleaning your oven. All of them make the task more difficult, so you should really try to avoid them.